I have a fun little story I want to share. I was at our high school football game over the weekend & the little girlie's got to perform during half time. There were a million little girls. But I saw a cute little girl walk by that had a hairdo I had just posted a couple days prior. I saw the mom & had the nerve to ask if she saw that on a hair blog. She was such a cute mom & said yes - that she loves to look at it. I was EXTREMELY excited to see somebody in person that has been using stuff from here. It totally made my night to see that & for the mom's really nice compliment!! I love to do this blog & fun moments like that just make it all worth the time & effort!! Thanks to all those moms out here that like this site!!
On to todays hairdo. I've done something exactly like this before but I wanted to show you can do the same thing but do it on the side or change it up a bit & it can look different. When I did do it before - I pulled it straight back & added a headband. This time it's on the side with a bow.
 Pull the hair into a side pony.
 Grab 1/2" to 1" pieces for each loop.
 Loop it around your finger (you'll have the ends sticking out that you'll grab into the next piece. It just kinda works that way).
 Pin each loop at the base of the head. I criss-crossed each bobby pin so no loose pins would come out.
 Go all the way around the head & add your cute bow to the side.
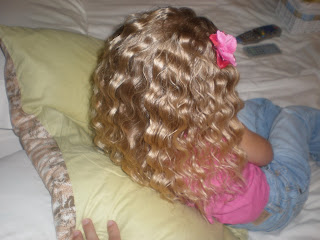
 Don't you love the attitude. She would not look at me. But you get the idea.

On to todays hairdo. I've done something exactly like this before but I wanted to show you can do the same thing but do it on the side or change it up a bit & it can look different. When I did do it before - I pulled it straight back & added a headband. This time it's on the side with a bow.
 Pull the hair into a side pony.
 Grab 1/2" to 1" pieces for each loop.
 Loop it around your finger (you'll have the ends sticking out that you'll grab into the next piece. It just kinda works that way).
 Pin each loop at the base of the head. I criss-crossed each bobby pin so no loose pins would come out.
 Go all the way around the head & add your cute bow to the side.
 Don't you love the attitude. She would not look at me. But you get the idea.


