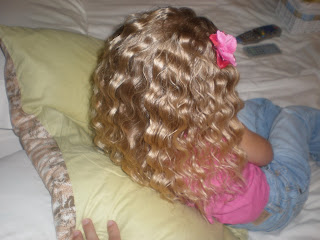
Over the weekend, it was senior ball & a darling girl in my ward asked if I would help her with her hair. Her hair is short - above the shoulders & she said she usually wears it down. So we immediately thought let's change it up & see if we can pull it all up. I can't take all the credit for this. My very creative sister happened to be over & was more than happy to help. & guess what? She wore it to church the next day & it still looked perfect!!
Sorry I didn't post step by step directions but it's pretty easy. You could actually do this on long or fine hair too. (my pictures are backwards & I'm of course too lazy to switch:)
We waved the hair all over with a 3 barrel iron. Then twisted the bangs & pinned them back. Next, starting at the oppiste side her bangs were at, we started twisting the hair, strands at a time & securing each strand with a bobby pin (these bobby pins are visible - if you have thicker or longer hair - you could hide them better) Continue twisting strands until all the hair is up. This kept all those baby hairs underneath secured nicely all night long.
 We kind of poofed the top so you could see the wave & it looked more full. We finished with a loose bun from the ends left over & added a cute flower. How easy to do on yourself even? & we didn't use any elastics - only some good ol' hairspray & bobby pins.
Sorry I didn't post step by step directions but it's pretty easy. You could actually do this on long or fine hair too. (my pictures are backwards & I'm of course too lazy to switch:)
We waved the hair all over with a 3 barrel iron. Then twisted the bangs & pinned them back. Next, starting at the oppiste side her bangs were at, we started twisting the hair, strands at a time & securing each strand with a bobby pin (these bobby pins are visible - if you have thicker or longer hair - you could hide them better) Continue twisting strands until all the hair is up. This kept all those baby hairs underneath secured nicely all night long.
 We kind of poofed the top so you could see the wave & it looked more full. We finished with a loose bun from the ends left over & added a cute flower. How easy to do on yourself even? & we didn't use any elastics - only some good ol' hairspray & bobby pins.
Of course - pictures never do it justice.
& BTW - thanks for all the birthday wishes to my girlie!! You guys are all so sweet!


